Bathroom tiling looks simple, but it is one of the most demanding tiling jobs in a home. The tiles must handle water every day, steam, cleaning products and years of foot traffic. When bathroom tiling goes wrong, the result is not just ugly.
It is leaks, loose tiles and damp walls. Good bathroom tiling is mostly about the work you cannot see once the job is done.
In this guide we cover how to choose bathroom tiles, why waterproofing matters so much, and the most common mistakes that lead to a job being redone.
Choosing bathroom tiles that work
Good bathroom tiling starts with where each tile will go. A wall tile, a shower floor and the main bathroom floor all have different needs.
Porcelain
Dense and absorbs very little water. A strong choice for floors and showers. Harder to cut, so it needs a skilled tiler.
Ceramic
Lighter and easier to cut. Good for walls. Check the box says it is suitable for floors before using it underfoot.
Mosaics
Great for shower floors. The many grout lines give grip, and small tiles follow the slope to the drain.
Large format
Fewer grout lines and a clean look. But walls and floors must be very flat, or edges will stick up.
For floors, slip resistance matters most. A shiny polished tile looks good in the shop but becomes slippery when wet.
Ask for a matt or textured finish for bathroom floors. Our guide to floor tiling explains tile types and ratings in more detail.
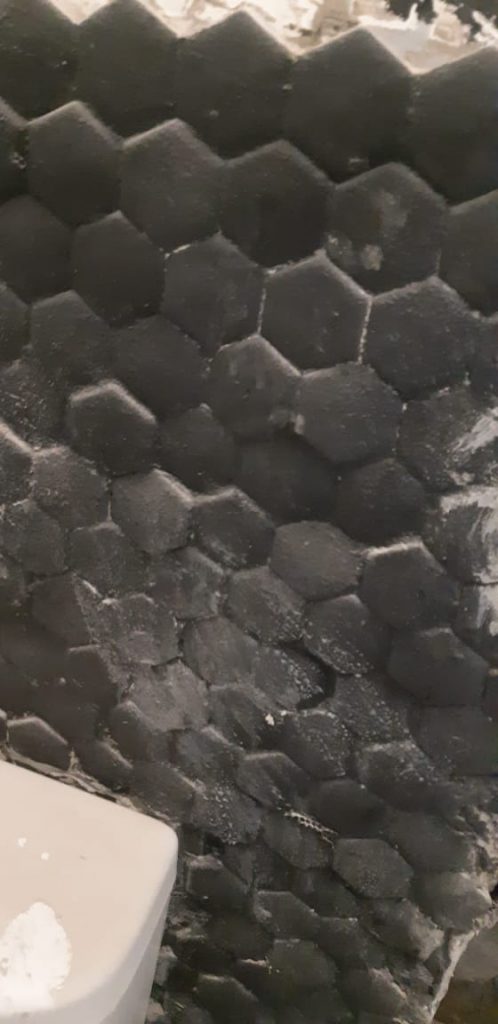
Waterproofing: the step under your bathroom tiling
Here is the part most people do not know. Tiles and grout are not waterproof.
Grout is porous, and water slowly passes through it. Without a membrane underneath, that water reaches the wall or the slab.
In a shower, this shows up as damp patches on the other side of the wall, peeling paint, or a stain on the ceiling below in a double storey home. By then the only fix is to strip the tiles and start again.
- 1Prepare the surface
Walls and floor must be sound, clean and flat. Loose plaster is removed and patched. - 2Prime
A primer helps the waterproofing bond to the surface. - 3Reinforce corners and joints
Corners, wall to floor joints and pipe points get reinforcing tape. These are where cracks and leaks start. - 4Apply the membrane
Two coats of membrane over the shower floor and walls, and over the rest of the wet floor. The second coat goes on once the first is dry. - 5Check for gaps
Every corner, pipe and drain edge is checked before any tile goes on.
Our tilers can look at your bathroom, advise on tiles and waterproofing, and give you a free quote.
Get a free quoteCall 076 272 8280How good bathroom tiling is done
Once the membrane is cured, the bathroom tiling starts. A careful tiler spends time on the layout before mixing any adhesive.
- Plan the layout. Start from the centre or the main focal wall. Avoid thin slivers of tile at edges and around the window.
- Use the right adhesive. Wet areas and porcelain need a flexible tile adhesive. Mix it as the bag says.
- Get full coverage. Use a notched trowel and full beds of adhesive. Large tiles are also back-buttered.
- Keep joints even. Spacers and levelling clips keep lines straight and edges flat.
- Cut neatly around fittings. Holes around taps, mixers and the drain should be clean so the cover plates sit well.
- Grout, then silicone. Grout fills joints between tiles. Corners and junctions get silicone, not grout.
For wall tiling, the wall must be plumb and flat. Uneven walls should be fixed with plaster first, not with thick lumps of adhesive. If you want an expert to handle it, our wall tiling team works across Cape Town.
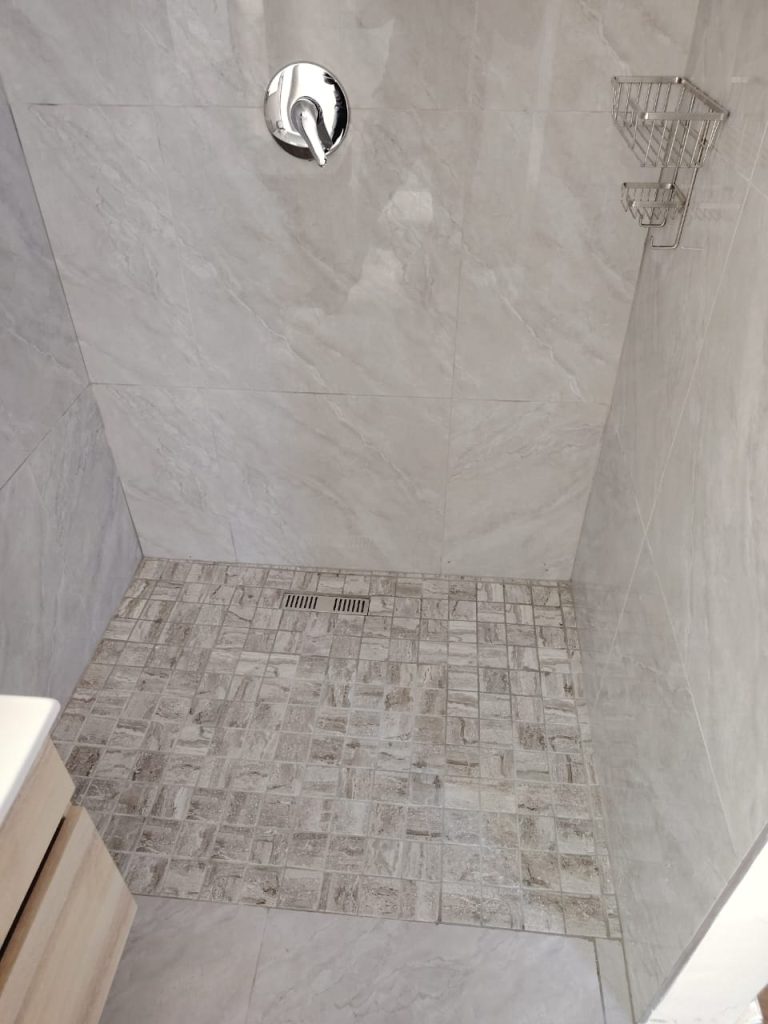
Bathroom tiling mistakes to avoid
These are the problems we find most often when home owners call us to redo bathroom tiling. Most of them come from rushing.
| Mistake | What happens | The right way |
|---|---|---|
| No waterproofing | Damp walls, mould and leaks into other rooms | Membrane under all wet areas |
| Spot fixing tiles with dabs of adhesive | Hollow tiles that crack or come loose | Full adhesive bed with a notched trowel |
| Grout in corners | Cracks as the building moves, then leaks | Flexible silicone in all corners and junctions |
| Wrong floor slope | Water pools on the shower floor | Correct fall set in the screed |
| Polished tiles on the floor | Slips when wet | Matt or textured floor tiles |
| Using the shower too soon | Grout and silicone wash out or stay weak | Wait for full cure time |
Bathroom tiling around a bath
The bath is a weak spot in many bathrooms. Water runs down the wall tiles and sits along the edge of the bath. If that joint fails, water gets behind the bath and into the wall or floor.
Before tiling, the bath must be fixed firmly so it does not move when someone steps in. The wall behind the bath is waterproofed, with tape at the joint. The tiles then sit just above the bath edge, and the gap is filled with a good bathroom silicone.

Fill the bath with water before you apply the silicone. The bath drops slightly under the weight, so the silicone is not stretched later when the bath is in use.
Grout, silicone and caring for your bathroom tiles
Grout colour changes the whole look. A matching grout gives a calm finish. A contrast grout shows off the tile shape, such as hexagon tiles, but also shows dirt more.
In showers, epoxy grout is harder wearing and resists stains and mould better than standard cement grout. It costs more and takes more skill to apply. Standard grout can be sealed to help it stay clean.
Cape Town winters are wet, and bathrooms often stay damp for hours. Open a window or run an extractor fan after showers.
Replace silicone when it turns black or starts to peel. This is a small job that protects the waterproofing behind it.
Bathroom tiling as part of a renovation
If your tiles are old, cracked or loose, it is often worth looking at the whole room. Pipes, the shower tray and the waterproofing can all be done at the same time. Our bathroom renovations team handles the full job, from stripping out to tiling and new fittings.
To plan your budget, read our guide on bathroom renovation cost. When you are ready, you can get a free quote for your bathroom.
Ask what waterproofing system and products will be used, and keep the product names for your records. National standards for building products in South Africa are published by the SABS. Experienced tilers in Cape Town will explain their system without fuss.
Bathroom tiling questions
Do I need waterproofing under bathroom tiles?
Can you tile over old bathroom tiles?
What are the best bathroom tiles for a shower floor?
How long before I can use a newly tiled shower?
Why does the grout in my shower go black?
Our team does waterproofing, floor and wall tiles for bathrooms across Cape Town and the Western Cape. Quotes are free.
Get a free quoteCall 076 272 8280